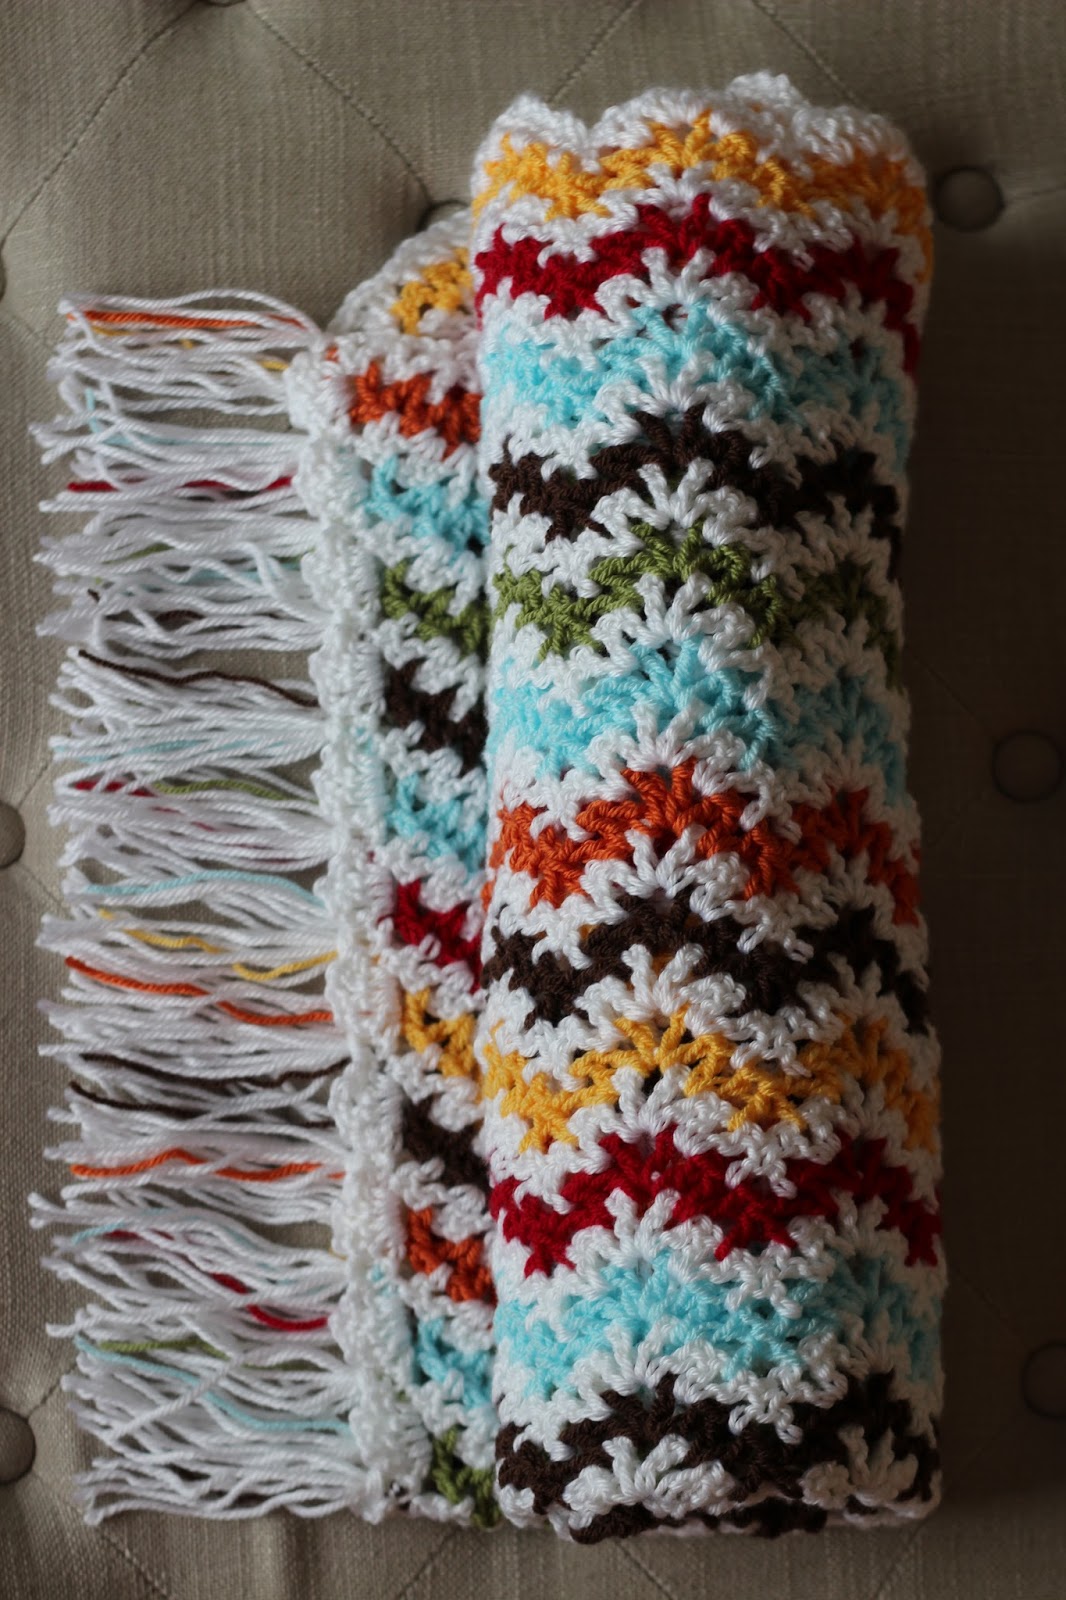
My best friend's mom has made a couple huge blankets using this pattern so last time I was in Texas I had the master crocheter sit down and teach me the stitch. Finally, it made sense! Thank you, Mama Rosa!
Is it possible to be both of those things?
I think so.
I hope so.
Since I changed colors at the end of each row I had so. many. ends. to weave in. I hate weaving in ends. I have actually thought about hiring one of the youth in my ward to do it for me. With this blanket I decided that I would just tie them off and add a little fringe instead. I love how it turned out! I carefully stitched a V-stitch border along each side and then pulled the loose ends through as I added tassels.
This kind of border is so much more enjoyable to create than weaving in a hundred ends. I highly recommend it.
Don't be discouraged by my struggles with this pattern, it's actually very good. I learn better by watching someone stitch but since I couldn't find a YouTube video on this stitch it took me a while (and a trip to Texas) to figure it out. If you live locally I would be more than happy to show you how the pattern comes together if you are stumping along with it too.
Charlie Brown Stats
Yarn: Red Heart Soft- White and Orange, Stylecraft Special DK- Walnut, Saffron, Meadow, Lipstick
Hook: 5.5mm
Finished size: 35" Square, not including fringe
Pattern: Found on Raverly here.


I love your solution. I'm also wondering if you've tried these methods:
ReplyDelete1. Don't cut the end, just leave the end loose until you finish that color for the blanket. For white in that blanket, you'd have two lines being passed back and forth like sacrament trays.You switch stitching lines and either stitch over all the loose lines in the last stitch of the row, or leave the lines to stitch over when adding a border.
2. Stitch over the end as if it were part of the previous row. This also works for making checkerboards. You just switch which line you stitch with.
3. Stitch using the cut line and your new feeder line until the cut one ends). That's the way I did it when ending/starting a new skein, but even when changing colors, it is sometimes disguised by the main feeding line, and looks like it's part of the previous (or next) row.
I also used boxes or cans with holes in the lids to keep the skeins or balls from moving around and getting tangled. That's a tip from Mrs. Perry who lived next door and taught me to crochet when I was 8. She always used balls because skeins frequently had knots. It was my job to make them into balls, being sure to not stretch the yarn too much.